Screw Restoration

You may be thinking - Is this really necessary? The lack of modern replacements for vintage laptops doesn’t stop at chips, screens, and hard drives. While you may be able to find some compatible screws from a distributor like McMaster-Carr or Accu (both good places to look, by the way), it’s not a guarantee. You may be able to find the right thread size, but these laptops usually use custom lengths, head radius, and drive type. If you do find something compatible, you may have to buy a minimum of 100 or more when you’re only looking for 2. The other option? Refurbish them.
This quick guide is the process I use to take rusted or dirty screws and bring them back to life. Unfortunately, this guide doesn’t cover stripped screws. There are some good ways of getting the screw OUT, but not many will restore it to a good state.
Things required
-
I’ve heard that apple cider vinegar well, but I’ve never gotten good results with it. I use Evapo-rust as it’s safe, bio-degradable, and reusable.
-
The process of removing rust will remove parts of the top layer of the screws. Use this process to restore the screws to their black look as well as provide protection from future rust.
-
If you’re blackening your screws with the Black Oxide, this is not optional. You must use distilled water in the blackening process.
-
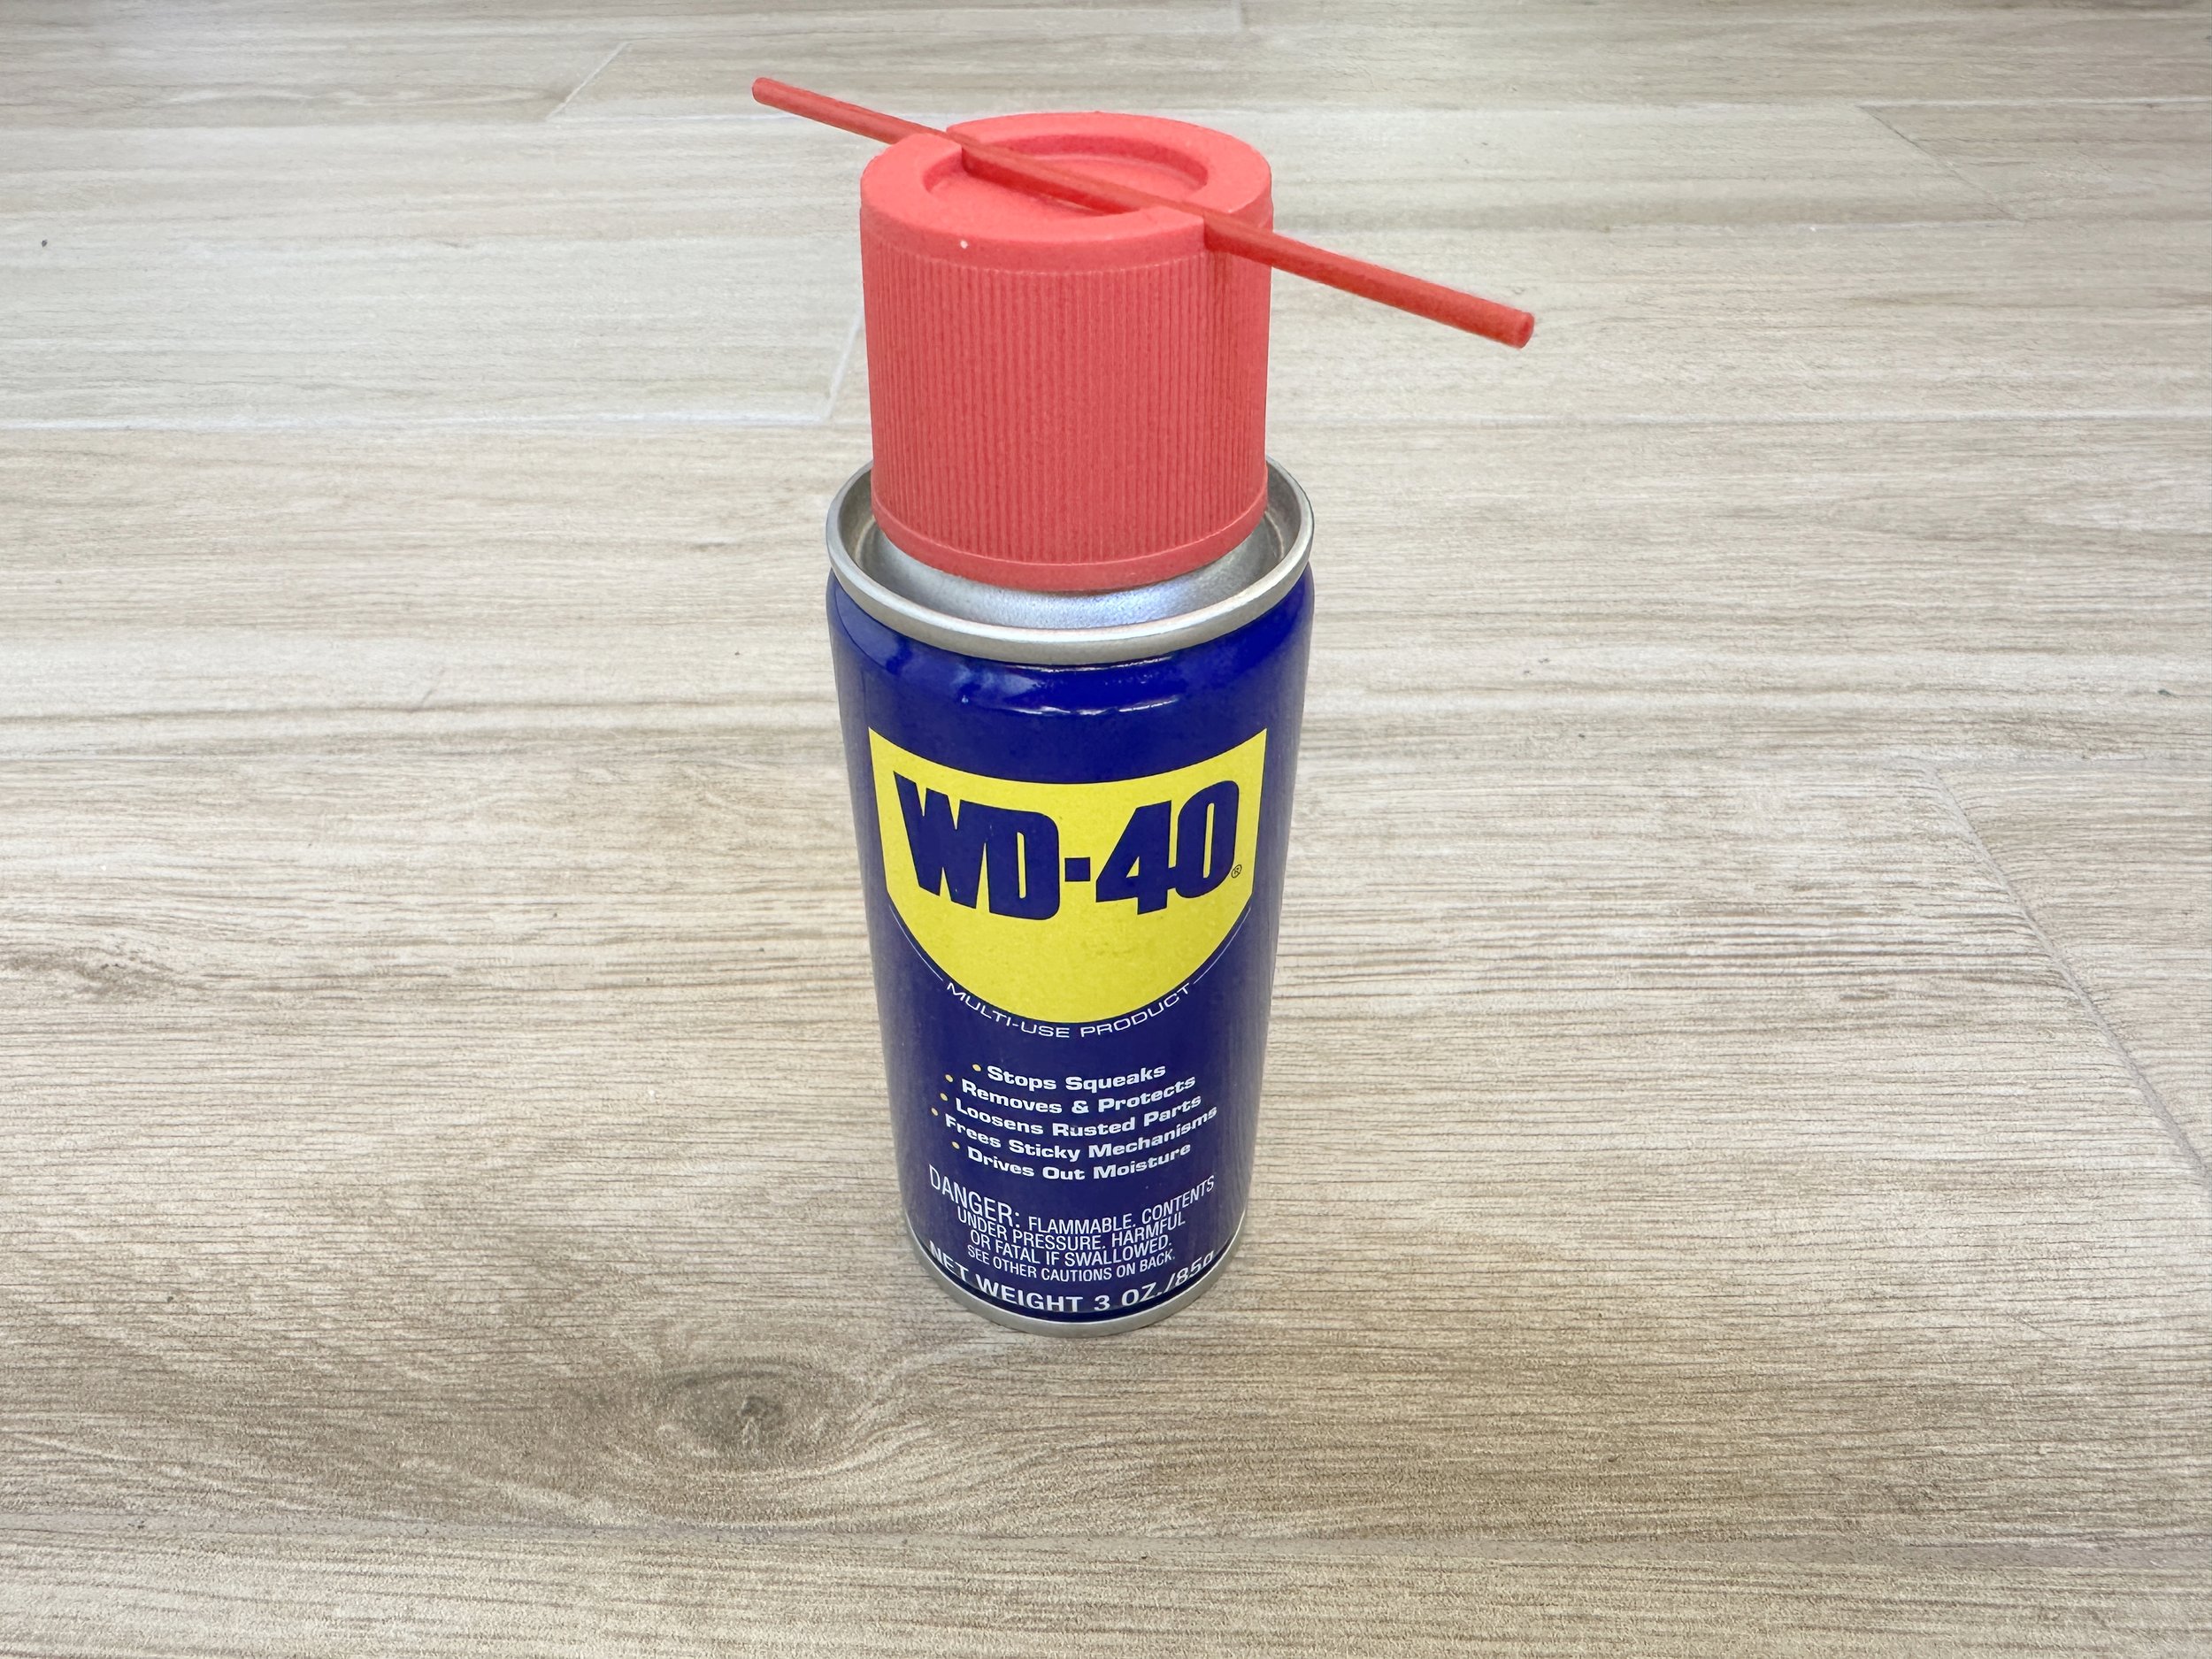
Once “cleaned” and blackened, the screws will need to be “sealed.” You can do this with most oils, but WD-40 is usually always on hand and works great.
Instructions

As with most of these guides, some of these steps are optional. You can simply remove the rust, but I’ll go through each step and why I choose to do it.
Step 1: Remove the rust
For removing rust, I’ve had great success with Evapo-Rust. It’s safe - meaning it’s non-corrosive and pH neutral. Unlike acidic solutions, at no point will it begin to eat away at the metal, even if you leave the screws in the solutions for a week or more.
It also removes the rust without needing to scrub it off afterward. This is especially useful for screws as it can be difficult to remove rust between the threads of very small machine screws.
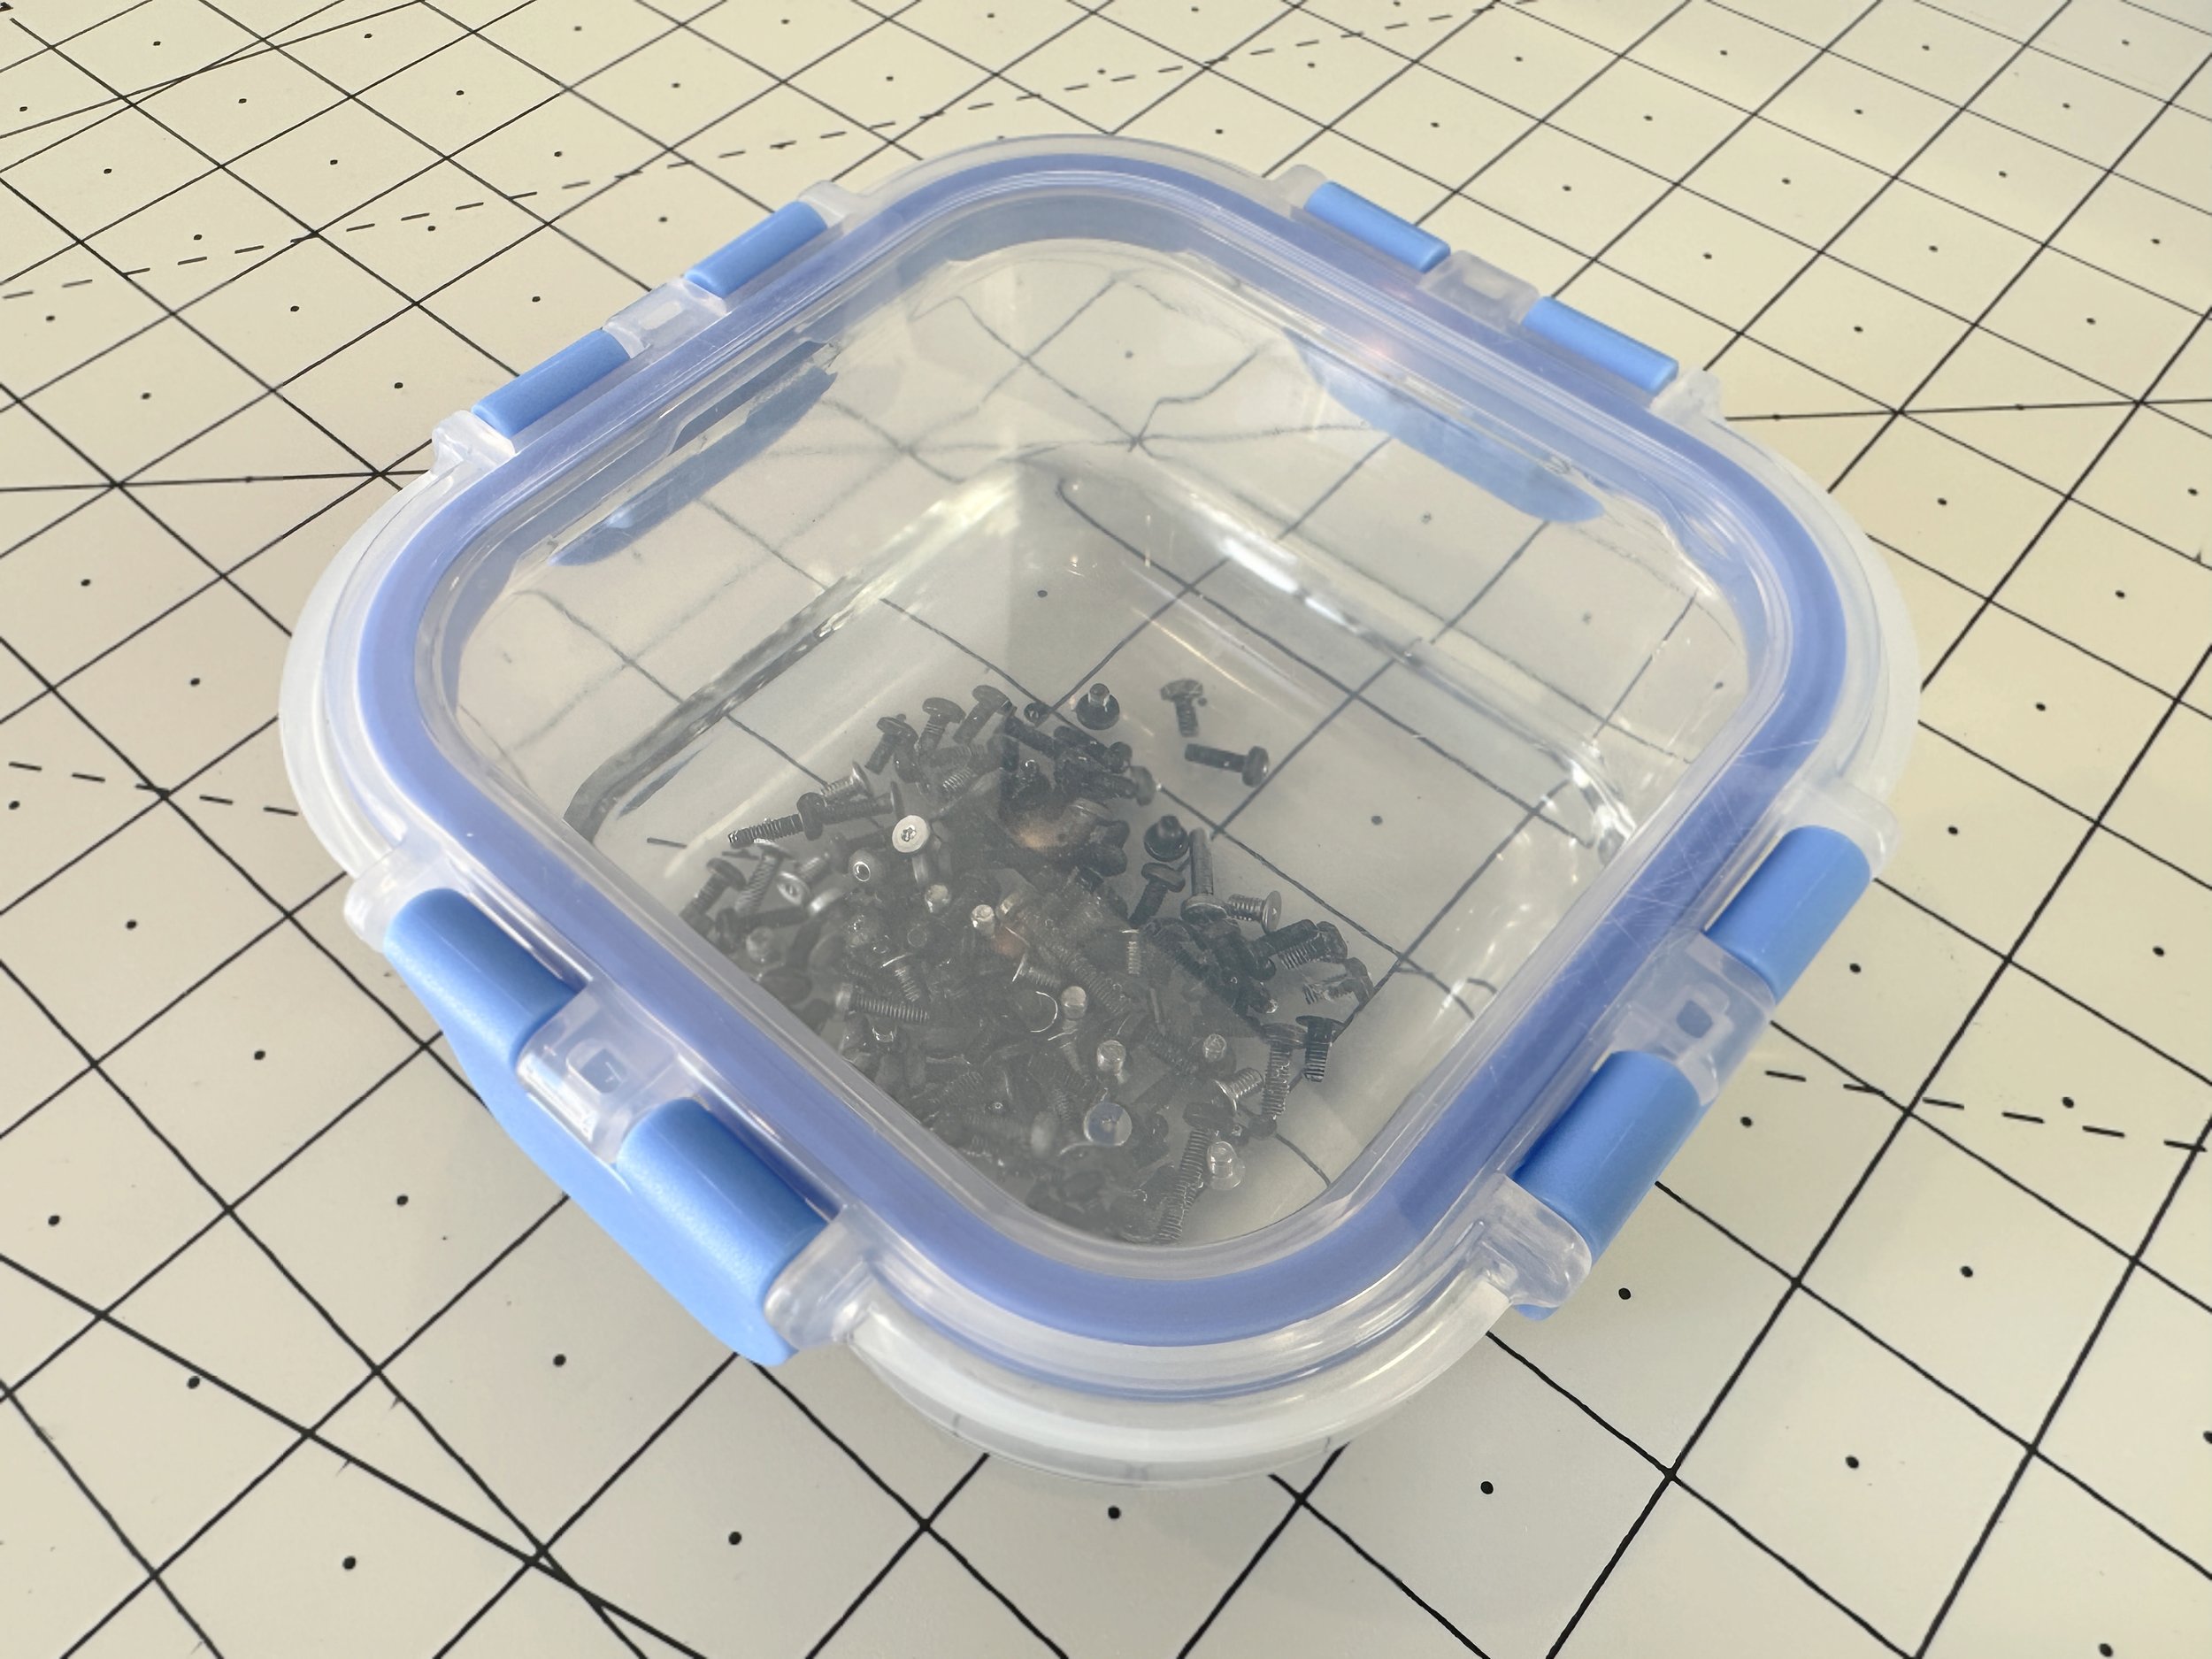
In a glass jar or container, submerge all of your screws in the rust remover. Make sure your screws are completely submerged.
You’ll want to wait between 2 and 6 hours, depending on how rusty your parts are. Give the container a shake every once in a while. This will help loosen the rust as well as ensure all sides of all screws are exposed to the solution.
When you’re done and you’re happy with the state of the screws, rinse them off using tap water in a sieve or fine mesh strainer.
Once thoroughly rinsed, you can dump them out onto a disposable, non-lint towel to dry. Fold the towel over and pat them dry.
It is important not to touch the screws with your fingers from here on out until you are finished with the last step. Any oils from your fingers may impede the next steps in the process.
Step 2: Blackening
Depending on the state of your screws, you may or may not need to do this. As far as I can tell, the screws are stainless steel that has been blackened during the manufacturing process. This blackening process converts the top layer of a ferrous metal into magnetite - turning it black and adding a layer of protection. This layer can come off, especially when acids are involved.
If all of your screws are still uniformly black, you can skip this step.
If not, I would recommend going through the blackening process again. This is not just for the aesthetics but to add another layer of future rust protection.
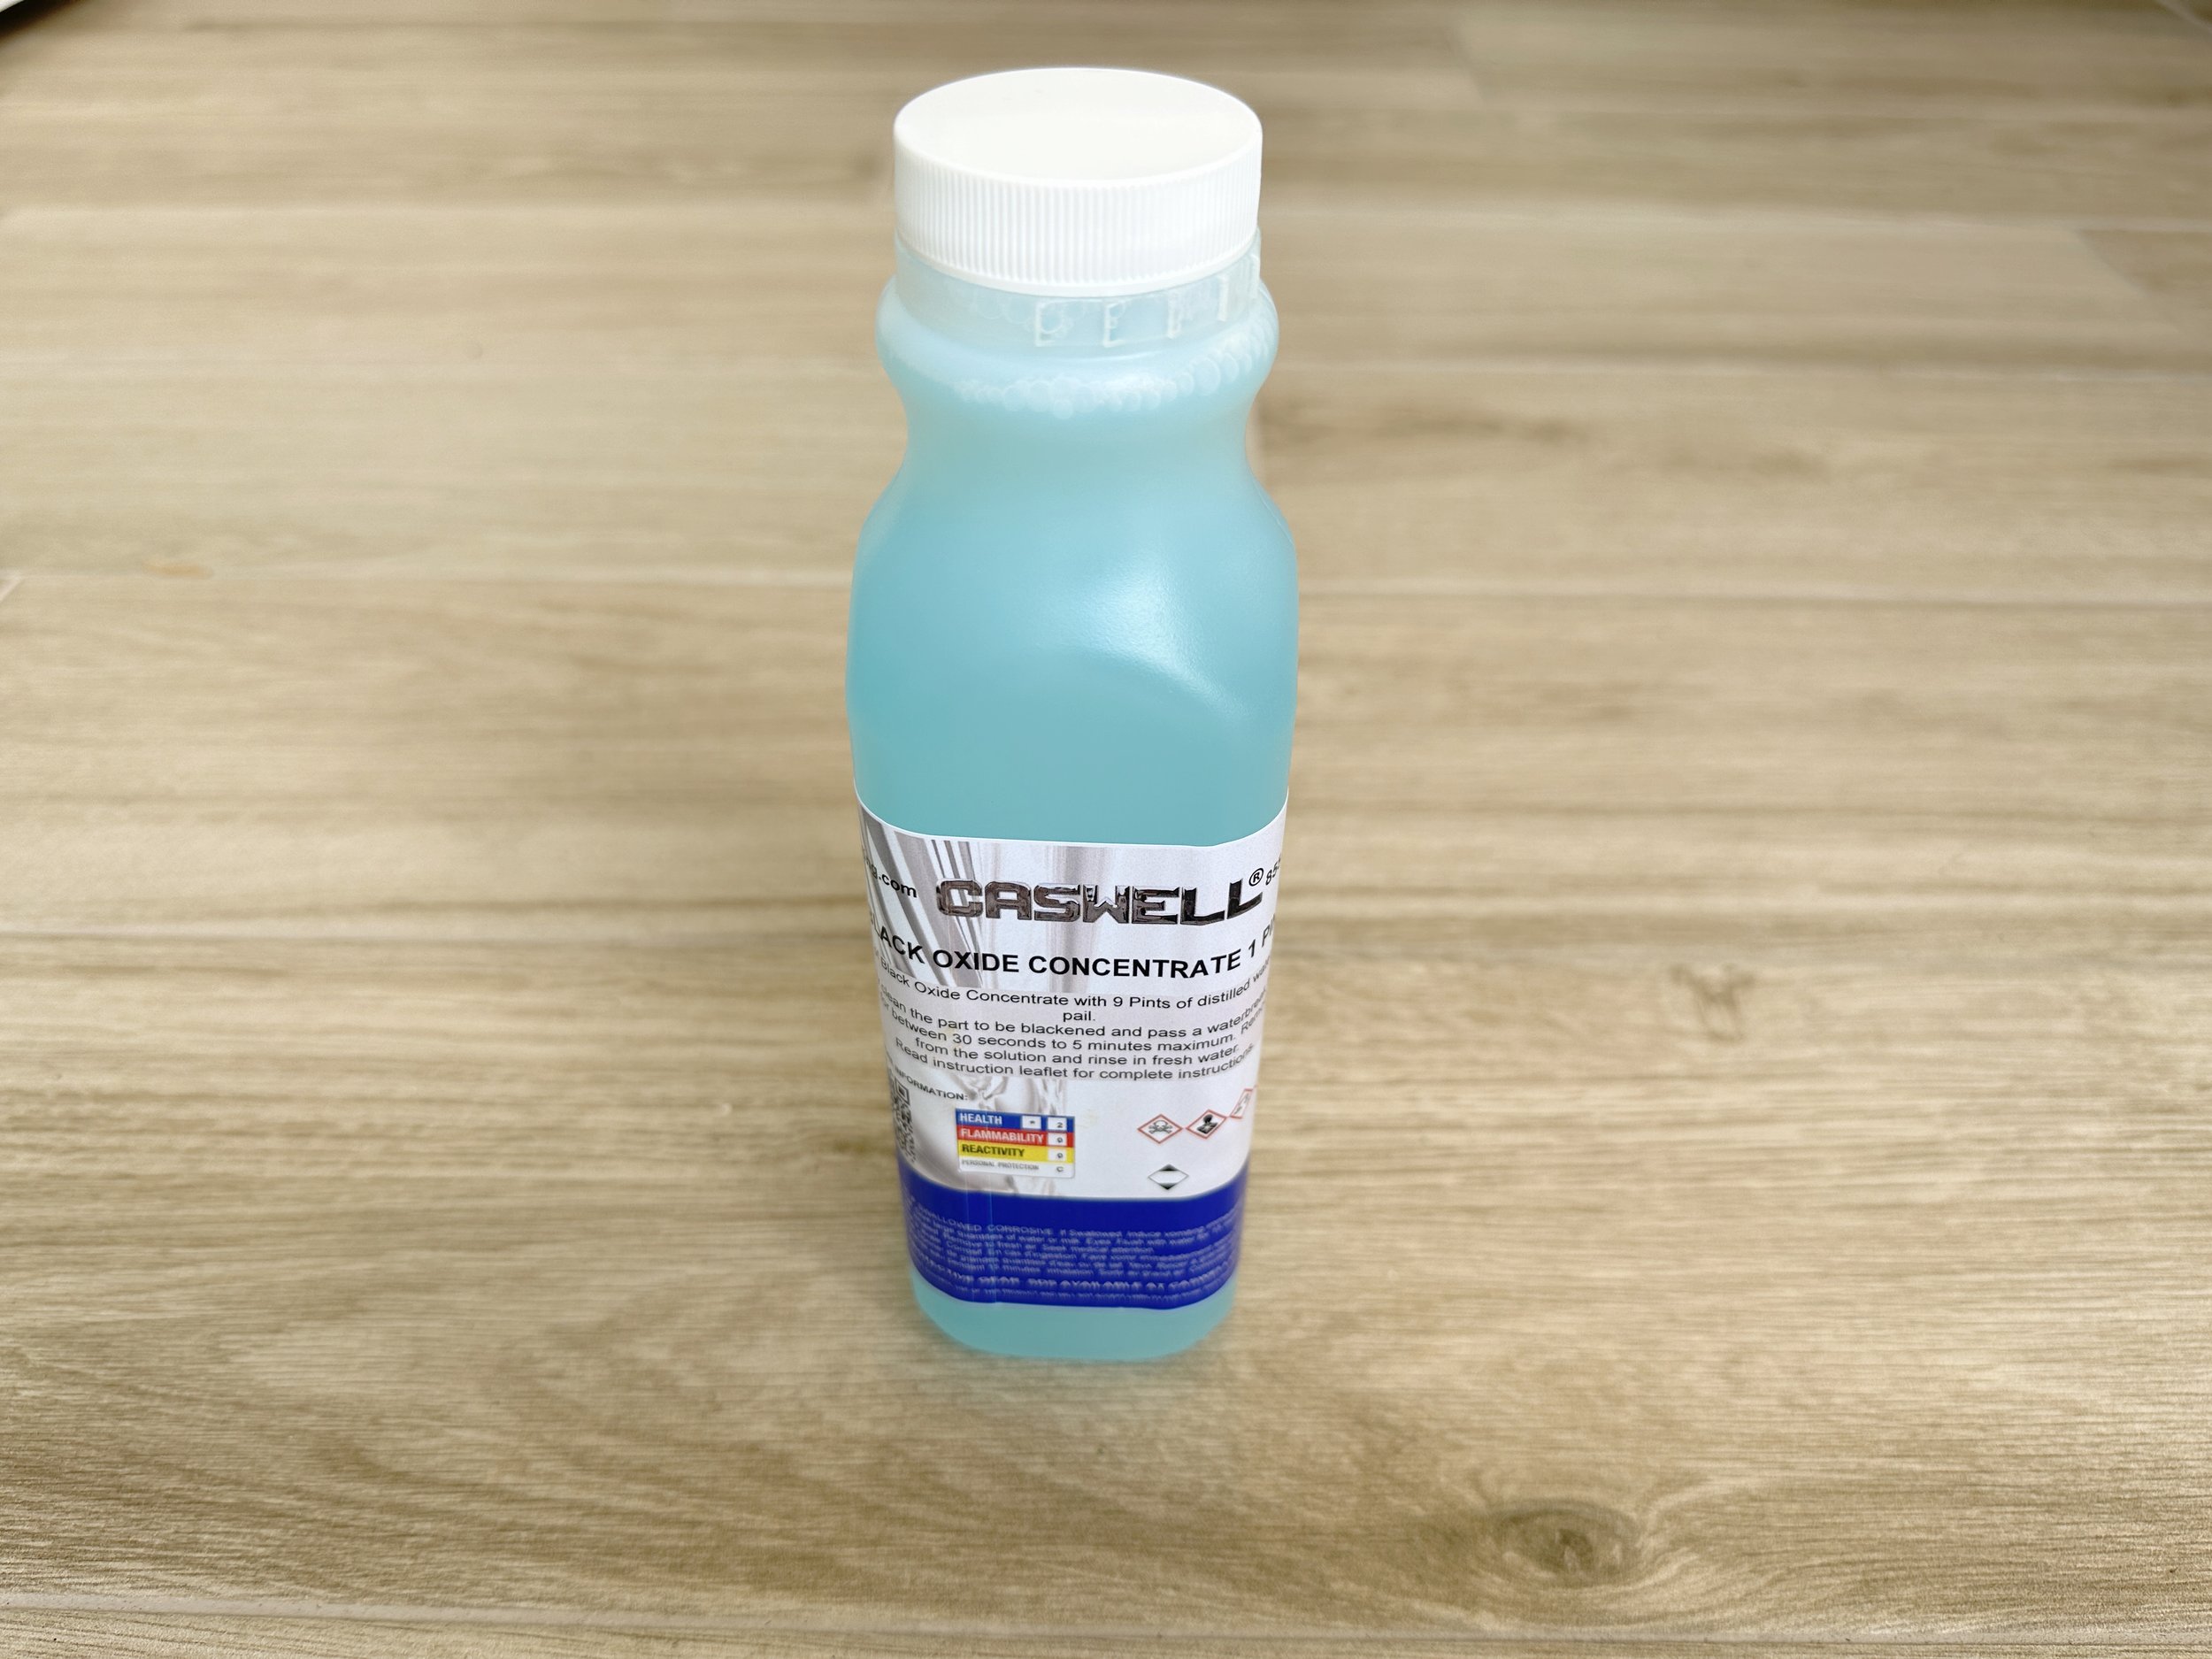
You can do this by using a “cold” blackening process using a chemical called Black Oxide Concentrate.
To begin, you’ll want to mix up a solution of Black Oxide based on the manufacturer’s directions. The solution will be some part Black Oxide Concentrate, and some part Distilled Water.
My solution calls for 1 part Black Oxide Concentrate to 9 parts distilled water.
Once your screws have dried from the previous step (make sure you have not handled them with bare hands), submerge them in the solution. This process is quick and should only take around 2 to 5 minutes.
After the time is up, remove from the solution and rinse thoroughly with distilled water.
Lay them out on a lint-free cloth to remove most of the water. Don’t worry about getting all of the water off, but make sure you’re still using gloves to handle the screws.
Step 3: Seal
Once the Black Oxide does its work, it needs to be sealed. This can be done using most oil-based solutions. I use WD-40 as it has rust-preventing properties as well.
Move the screws into a clean container and spray enough WD-40 to cover the screws. Shake to make sure they are all completely covered.
Let this sit for 4 to 5 minutes in the sealant.
Once this is done, remove the screws and let air dry on a clean towel.
Done!
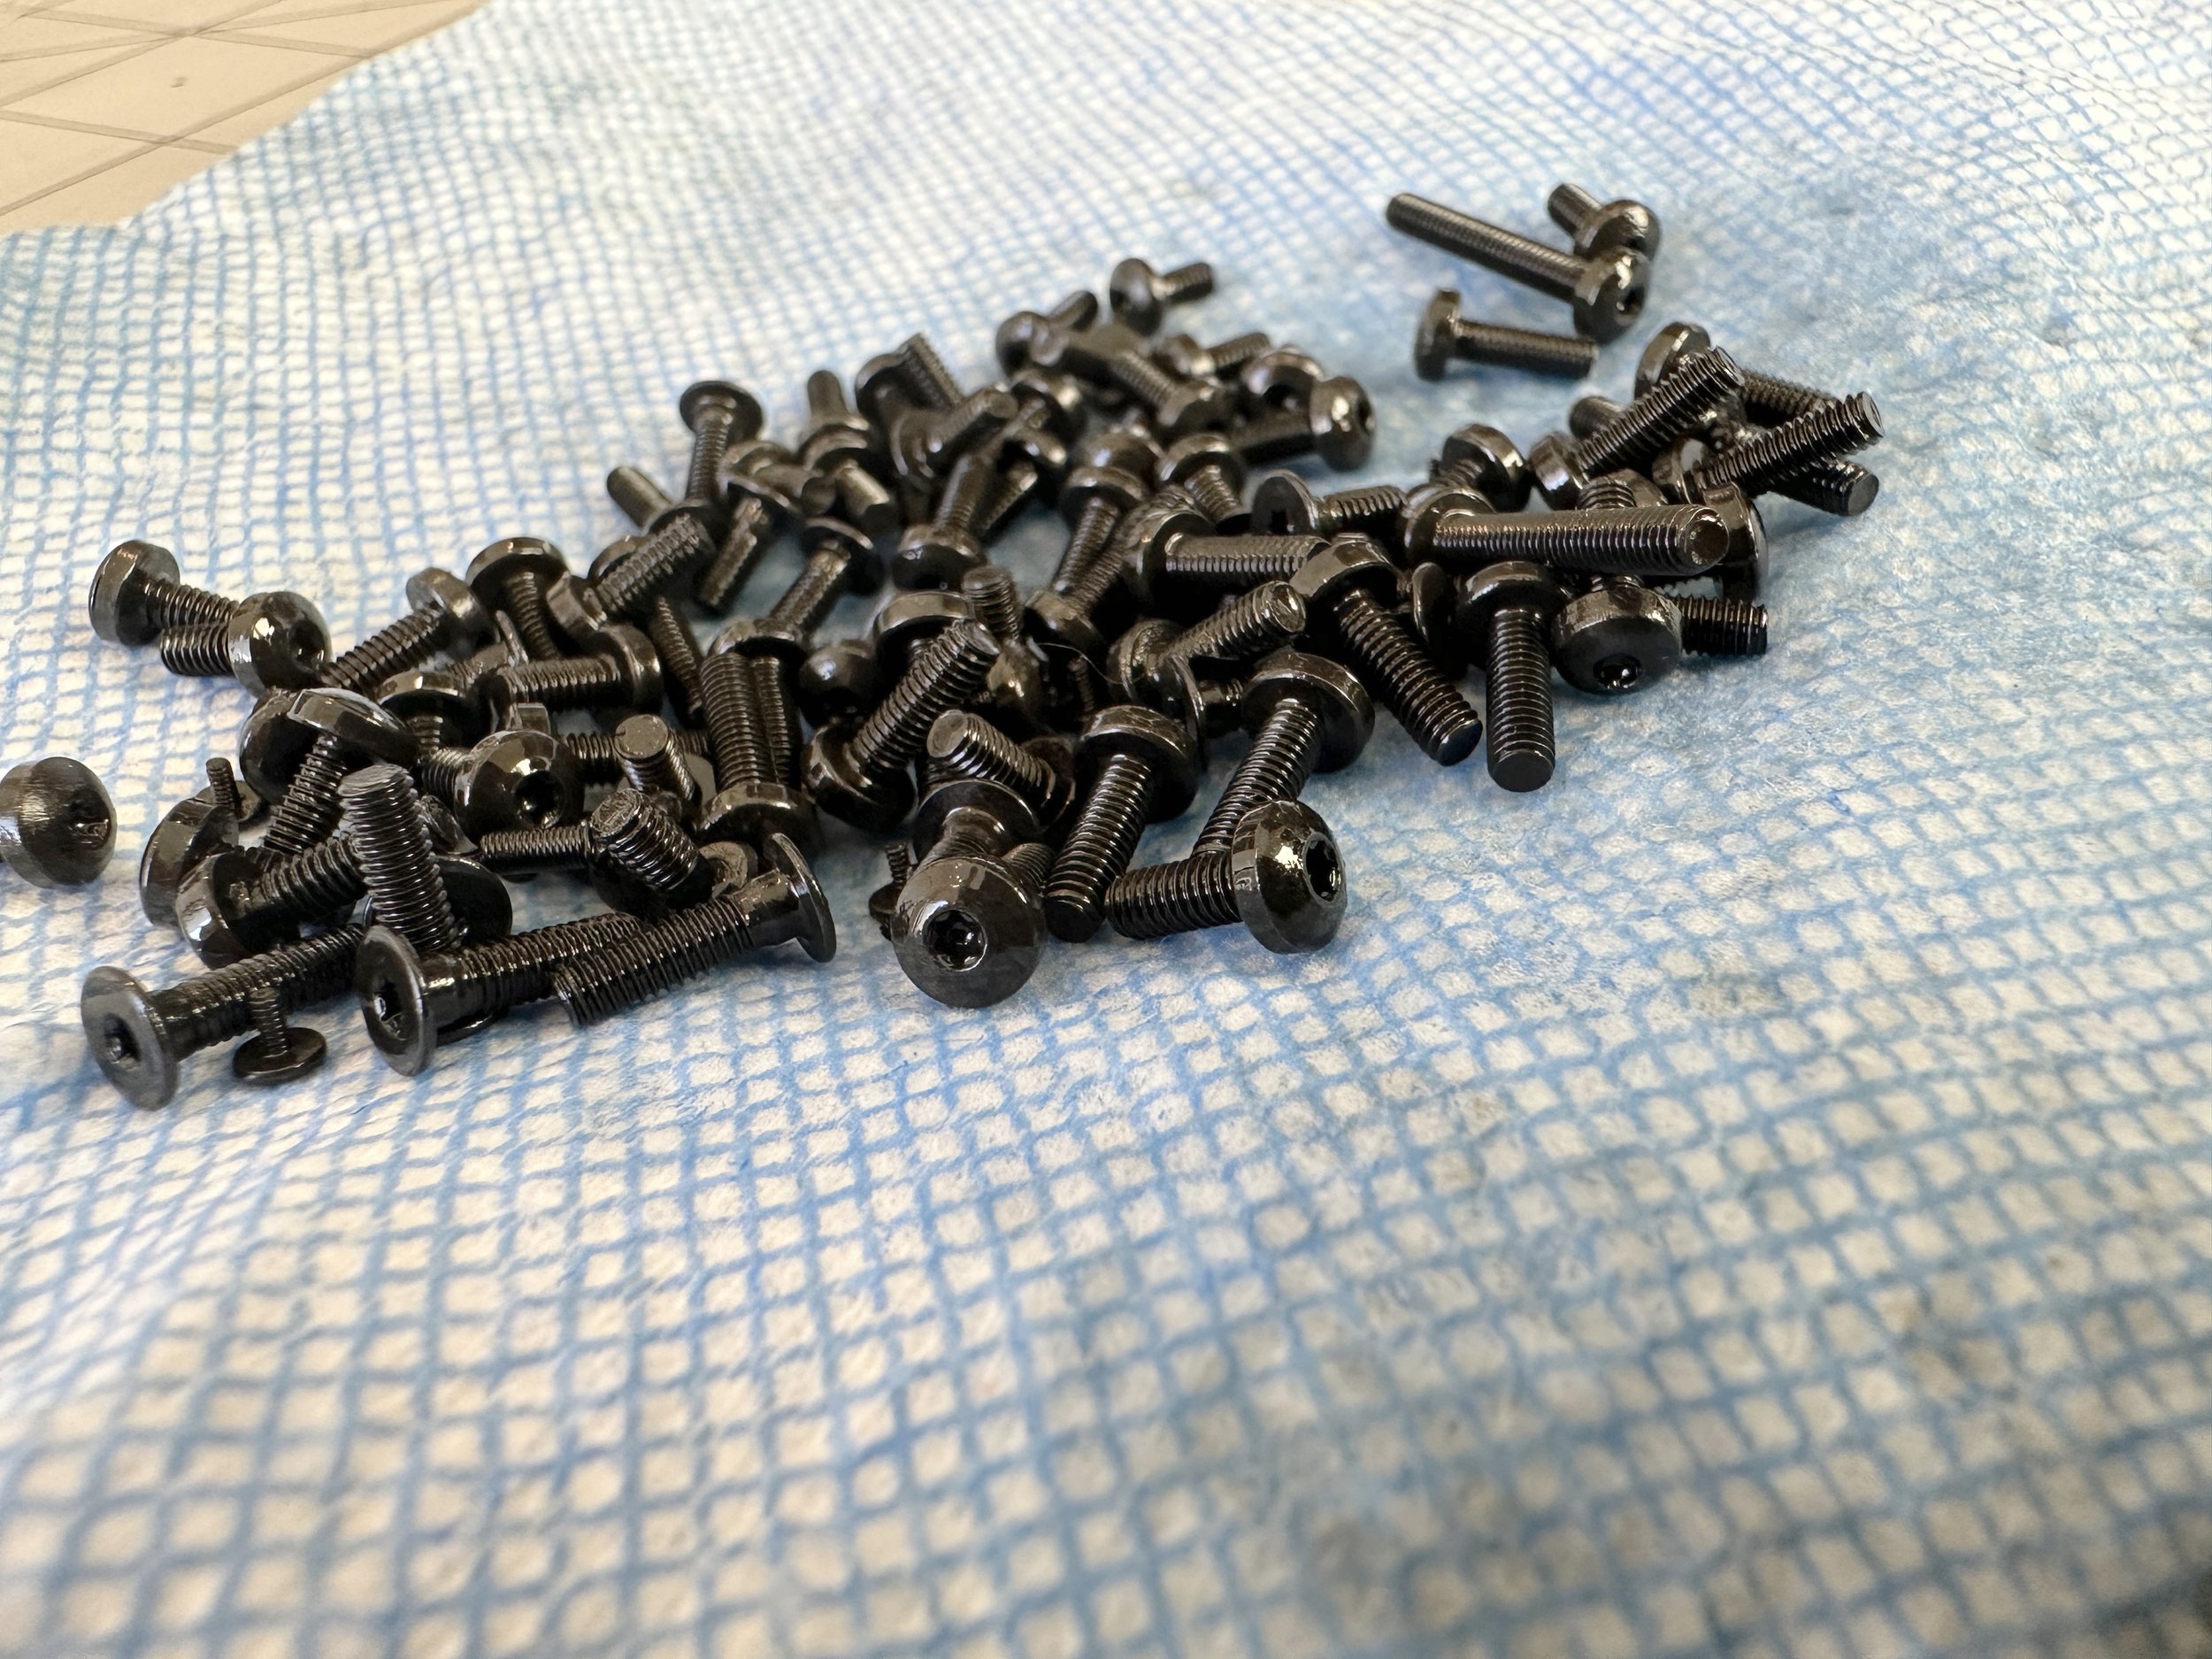
Your screws should come out with a uniform black look free of rust. If this is not the case, you can repeat these steps - in severe cases, I’ve needed to work out the rust from in between the threads after putting them in the rust remover. You can do this with a vinyl or wire brush.